Making of: The Sock Monster

[tw-column width=”one-half”]
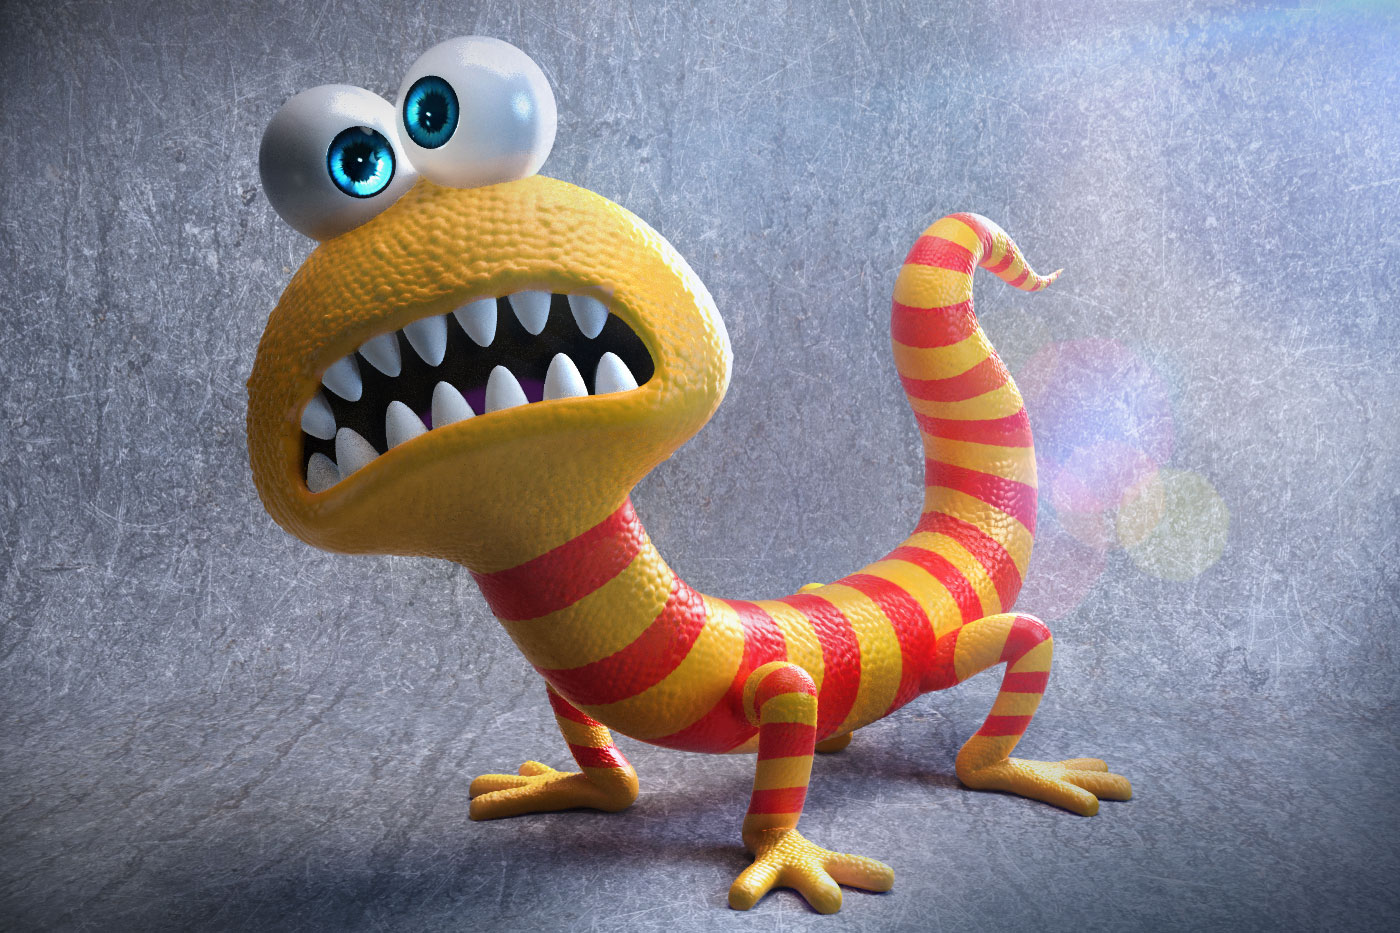
Just a quick run though of the very smelly illustration of “The Sock Monster” at the JTX Animation studios..
The Software
3D Studio Max was used for modelling, Zbrush for texturing/displacement and finally Vray for Shading, Lighting and Rendering.
[/tw-column]
[tw-column width=”one-half” position=”last”]
[tw-divider]Stage 1[/tw-divider]
The Base Mesh and UV Unwrap Check
[tw-column width=”one-half”]
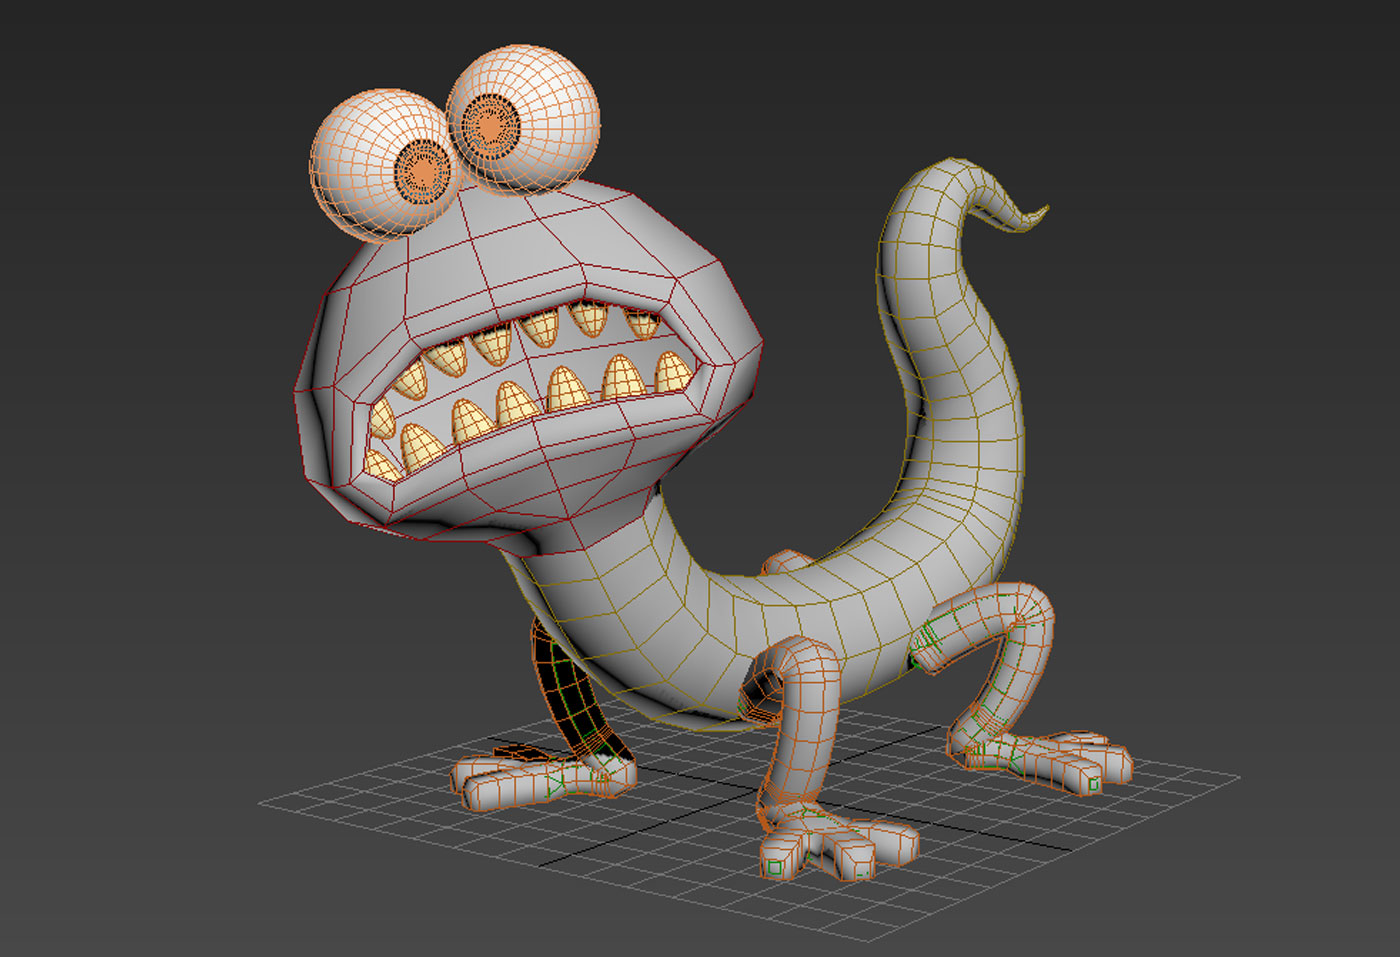
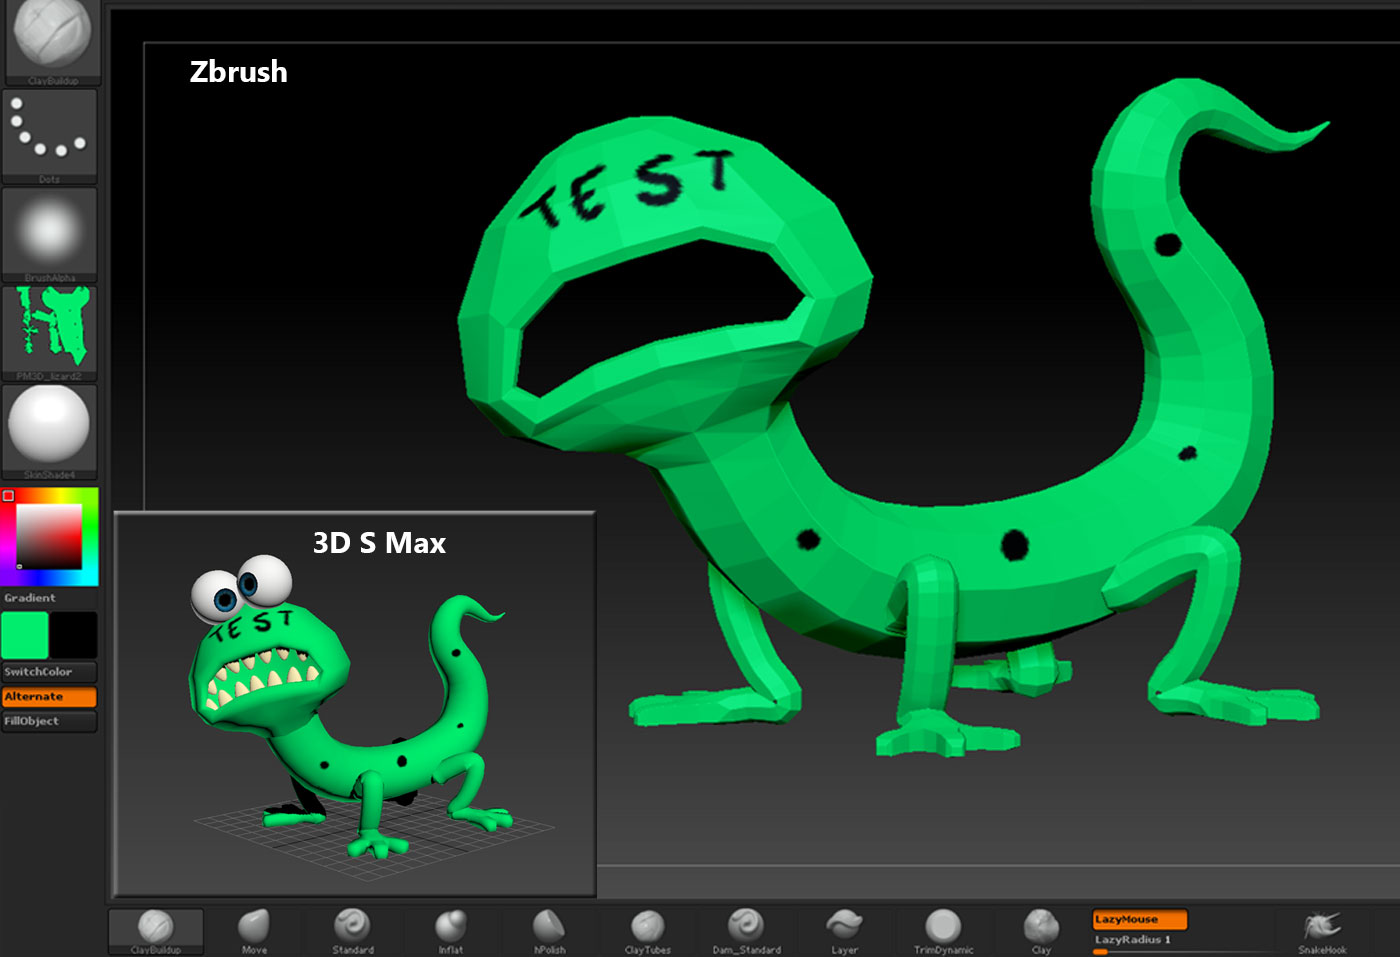
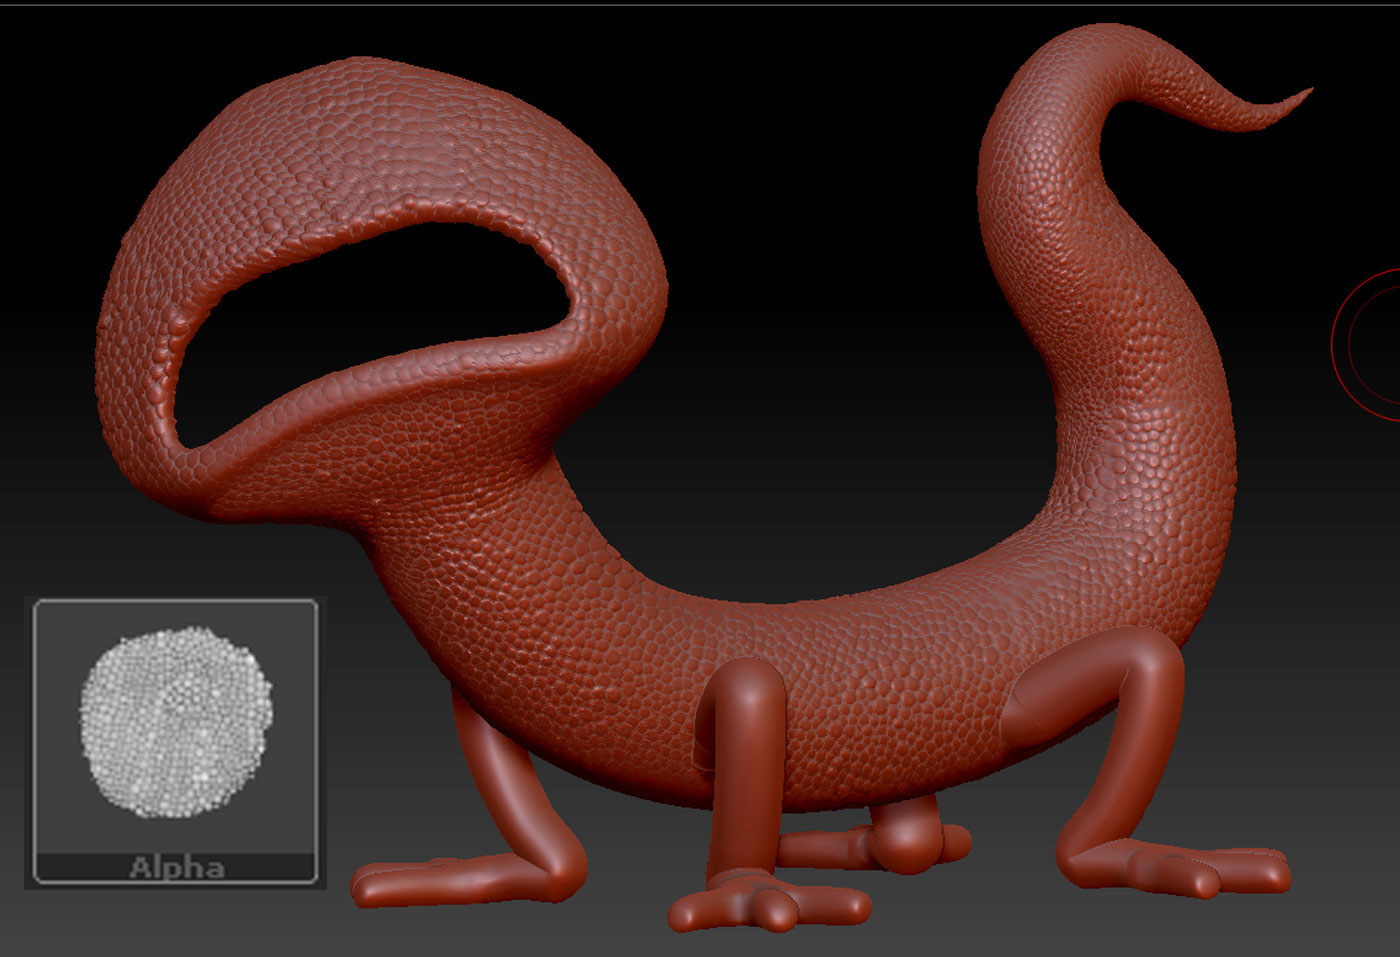
Here’s the base mesh that was created to block out the stylised form of the character, providing an interesting shape to work with in Zbrush. The Model was also unwrapped at this stage which makes checking textures between Zbrush and 3D S Max an easy process.
[/tw-column]
[tw-column width=”one-half” position=”last”]
Above you can see a quick polypaint diffuse texture that was created and exported from Zbrush to test the UV Coordinates were lining up in 3D Studio Max.
[/tw-column]
[tw-divider]Stage 2[/tw-divider]
[tw-column width=”one-half”]
Zbrush Poly Grouping and Alpha Masks
[/tw-column]
[tw-column width=”one-half” position=”last”]
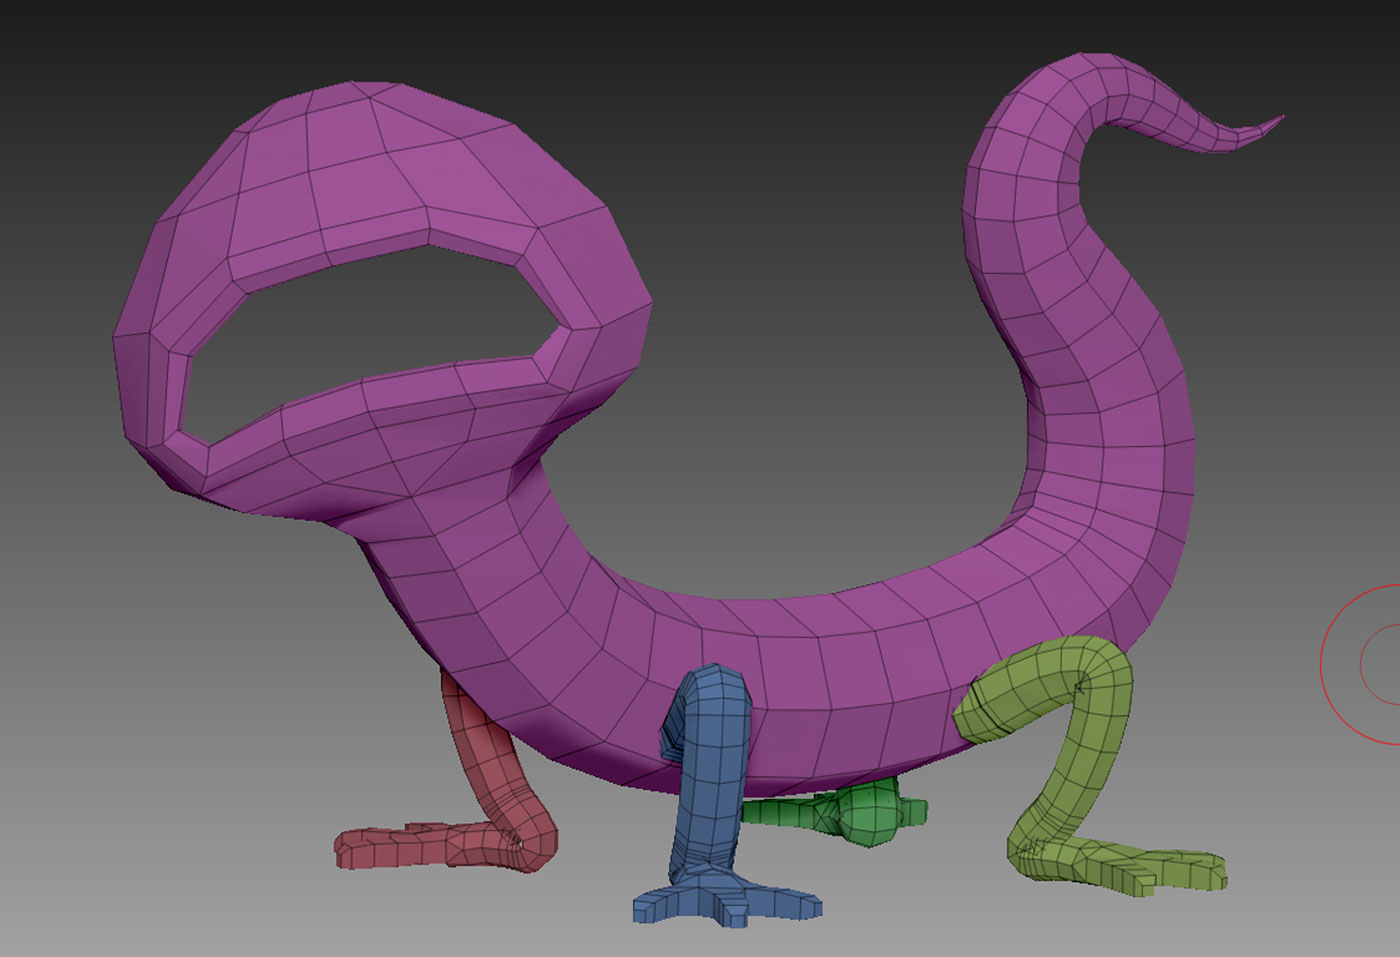
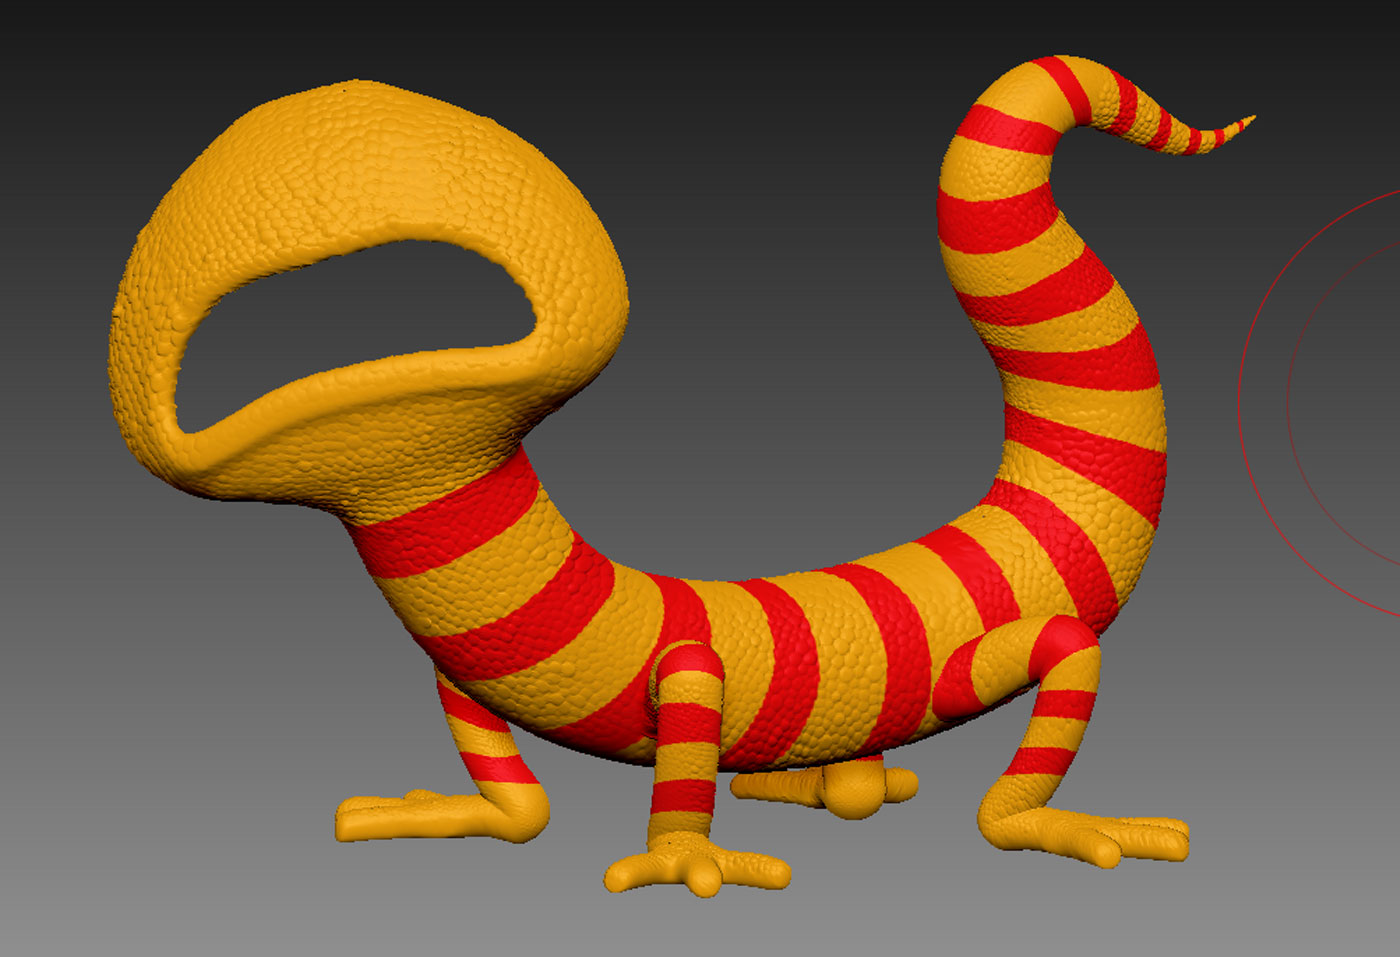
It is useful to create poly groups in Zbrush to enable quick selection of individual parts of a 3D model. To the left you can see the different colour-coded body parts of the character which allow quick isolation of limbs. This ties in with the following step of creating and using alpha masks to displace the mesh.
[/tw-column]
[tw-column width=”one-half”]
Pixologic(Developer of Zbrush) provide an expansive Zbrush alpha library which was used to create the scaley displaced mesh surface as seen here. Utilising the polygroups, set in place at the previous step, the scaley reptile-like pattern was easier to paint evenly on the surface of the mesh.
[/tw-column]
[tw-column width=”one-half” position=”last”]
[/tw-column]
[tw-column width=”one-half”]
[/tw-column]
[tw-column width=”one-half” position=”last”]
Polypaint within Zbrush was great for creating a quick sock-type diffuse pattern. The Zbrush layering system was useful for building up a flexible colouring workflow.
[/tw-column]
[tw-divider]Stage 3[/tw-divider]
[tw-column width=”one-half”]
Sub-Surface-Scattering: Finding Balance
[/tw-column]
[tw-column width=”one-half” position=”last”]
[/tw-column]
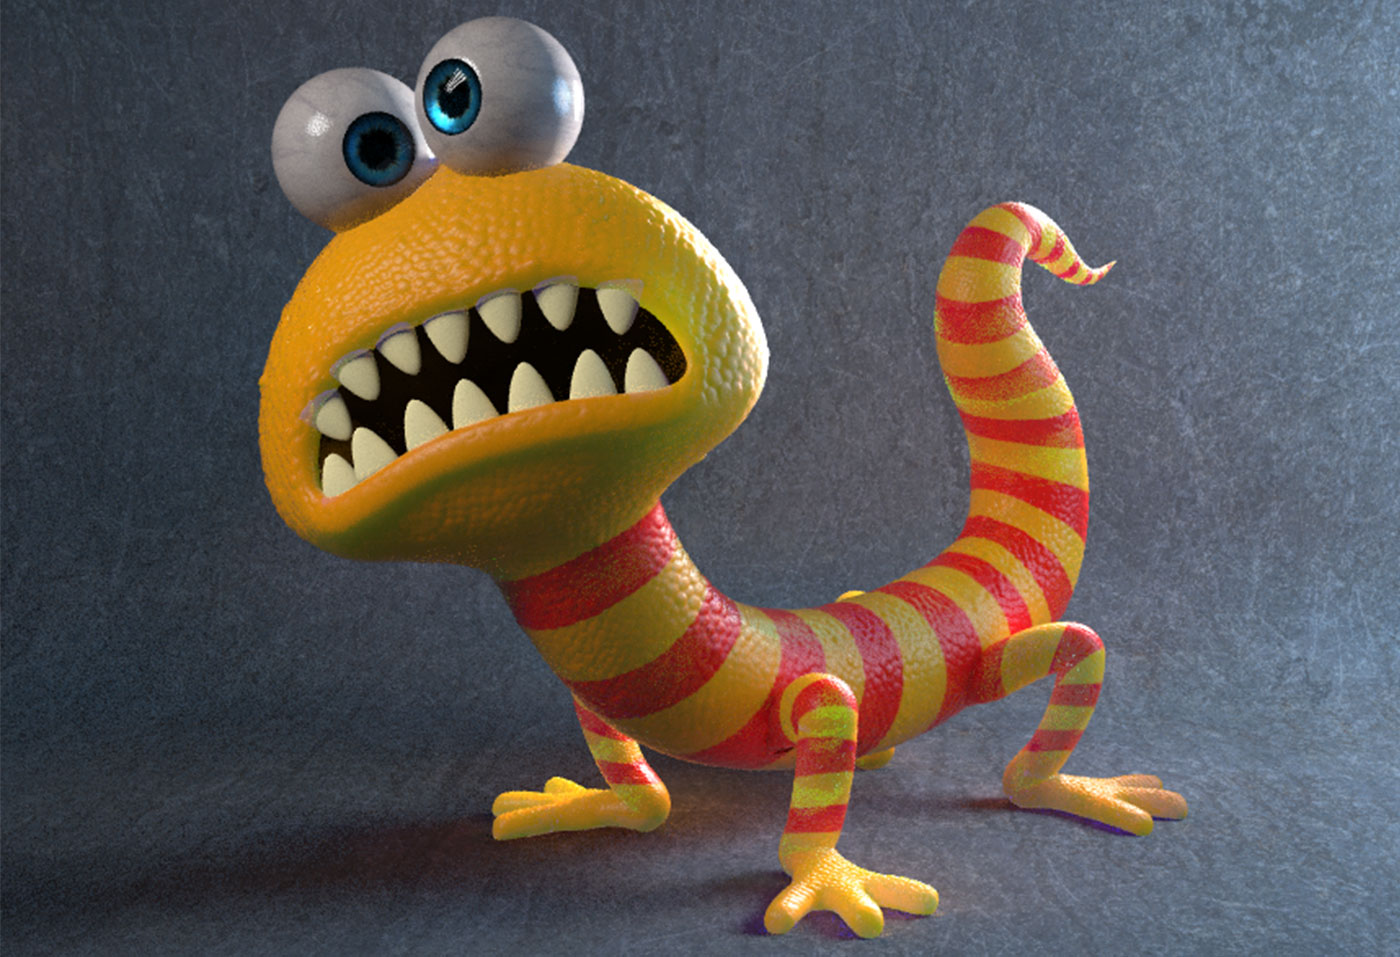
The VrayFastSSS shader was the likely candidate for producing a realistic skin-like material for this little guy. Finding a balance between overly waxy and too diffuse can always be a little tricky. For the final image, the depth of the scales on the surface of the character were maintained whilst still allowing light to penetrate the skin.
[tw-divider]Stage 4[/tw-divider]
[tw-column width=”one-half”]
Vray Lighting/Rendering
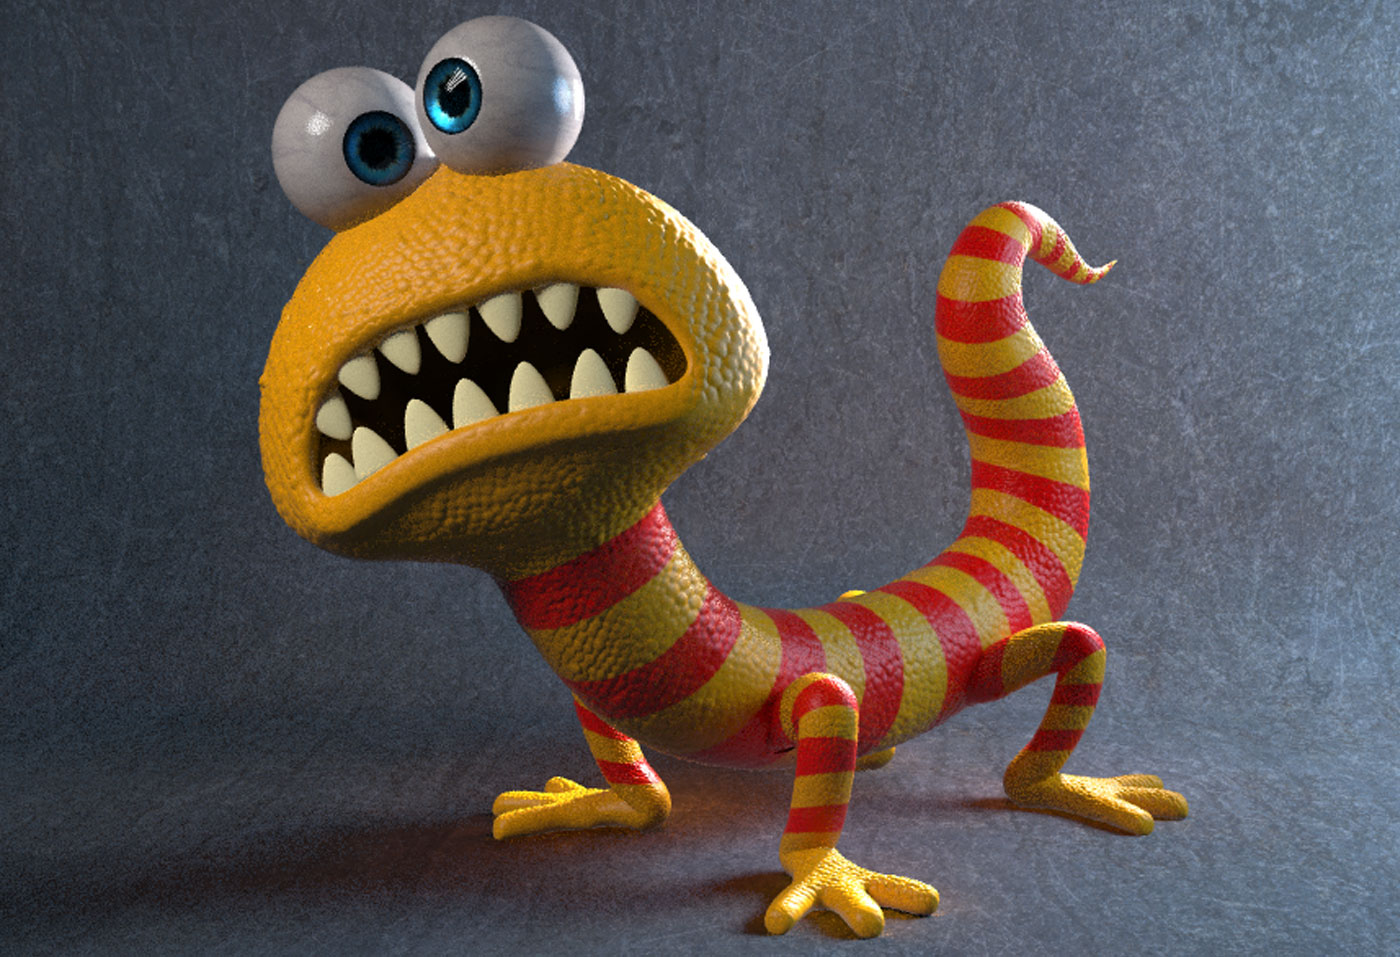
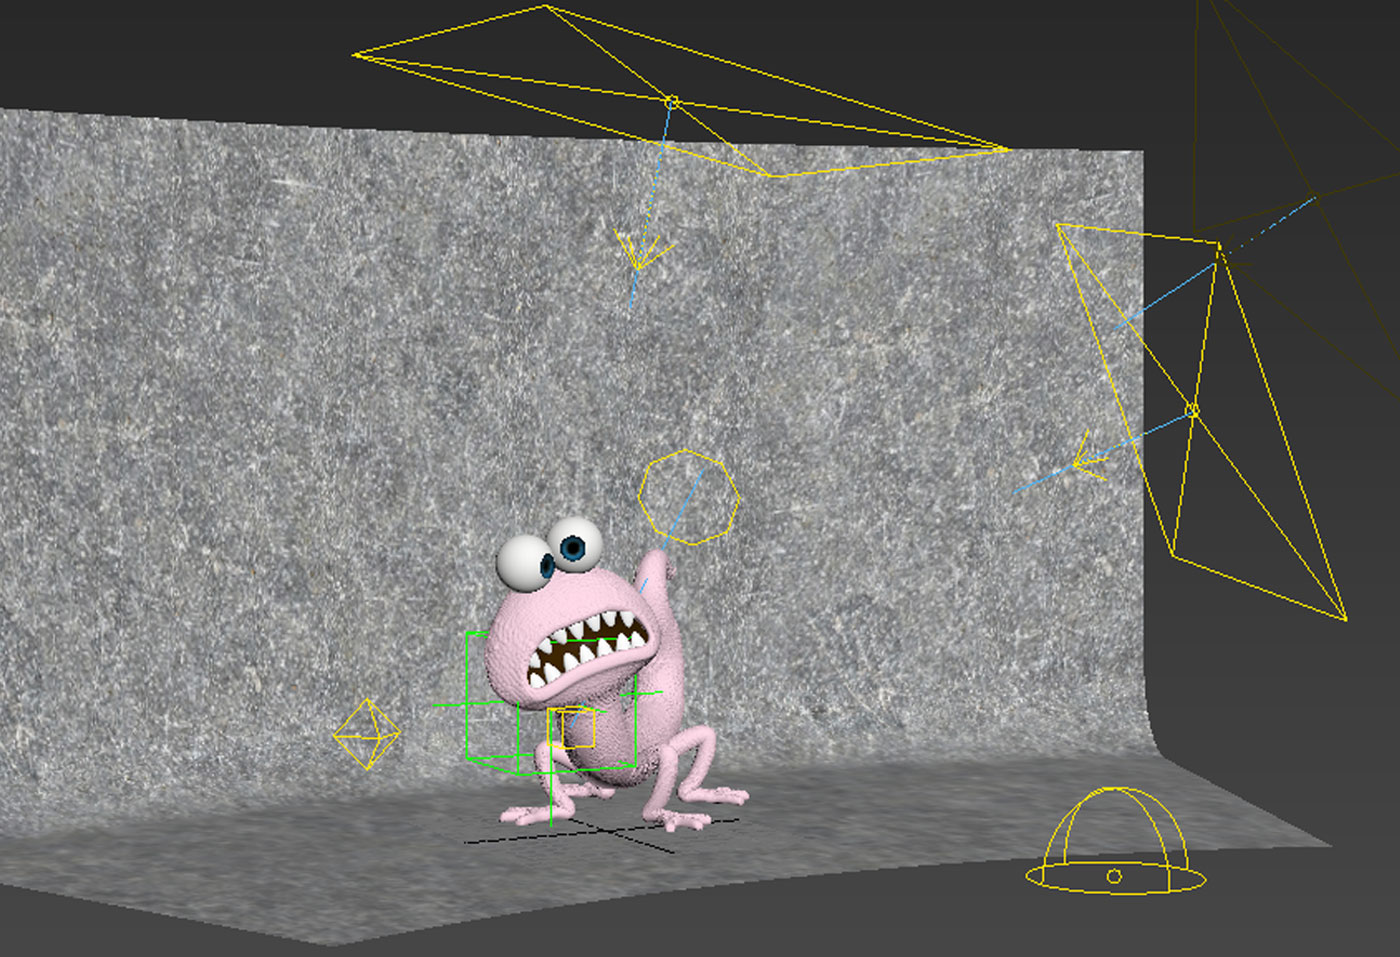
Here at JTX we have created a standard studio lighting setup which we can adjust to suit our needs. Vray lights are a standard and the Vray render engine is fantastic for creating fast renders with high quality image results.
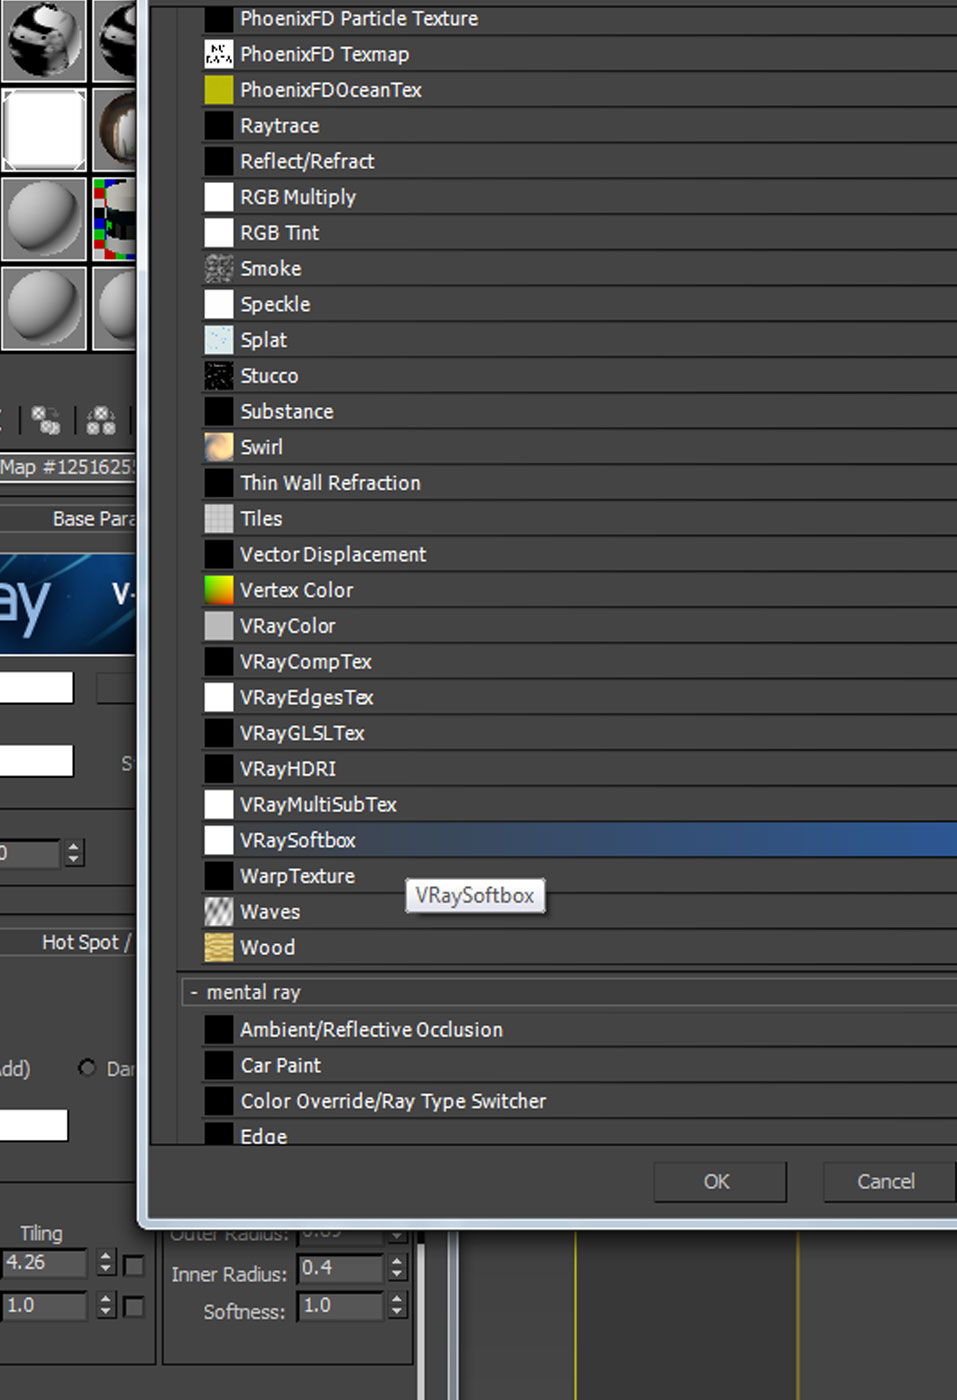
As you can see on the right, Vray offers a softbox texture addition which can be used to replicate a photographers soft-box studio light set-up.
Hey Presto…
[/tw-column]
[tw-column width=”one-half” position=”last”]
[/tw-column]

